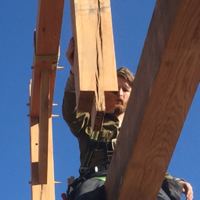
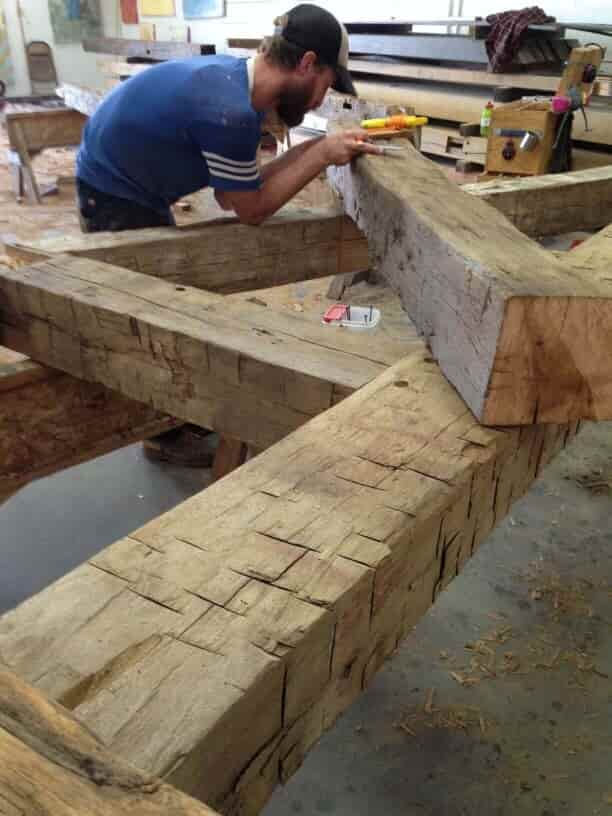
Laying out where to cut mortise and tenon joints for a timber frame requires precise measurements to achieve a good, tight fit. On freshly milled and planed (S4S) timbers that are nice and square this is a pretty straight forward process. All layout lines can be measured and marked off the edge of the timber. This method is called edge rule or mill rule. Antique, reclaimed and hand hewn timbers are irregular and uneven, so they necessitate different methods for lay out. On this set of hand hewn timber frame trusses we used a combination of snap line square rule and plumb line scribing techniques.
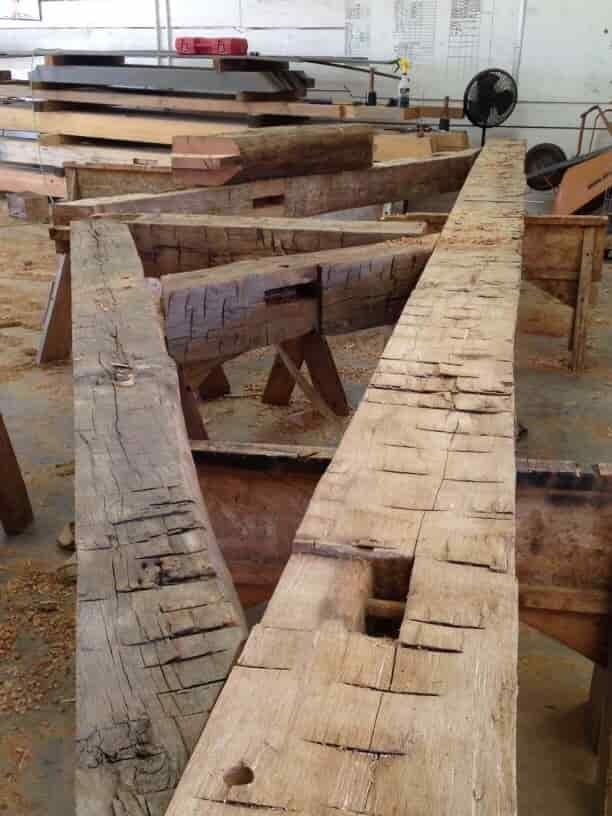
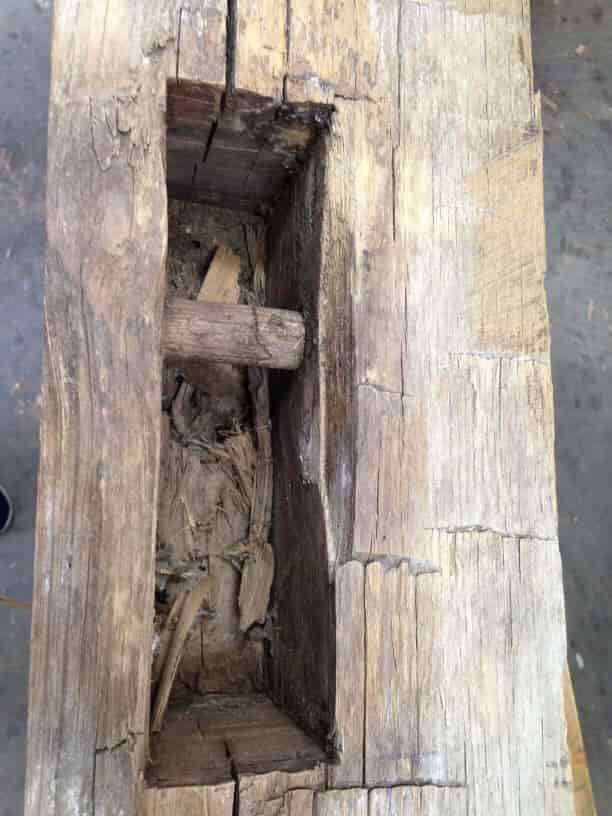
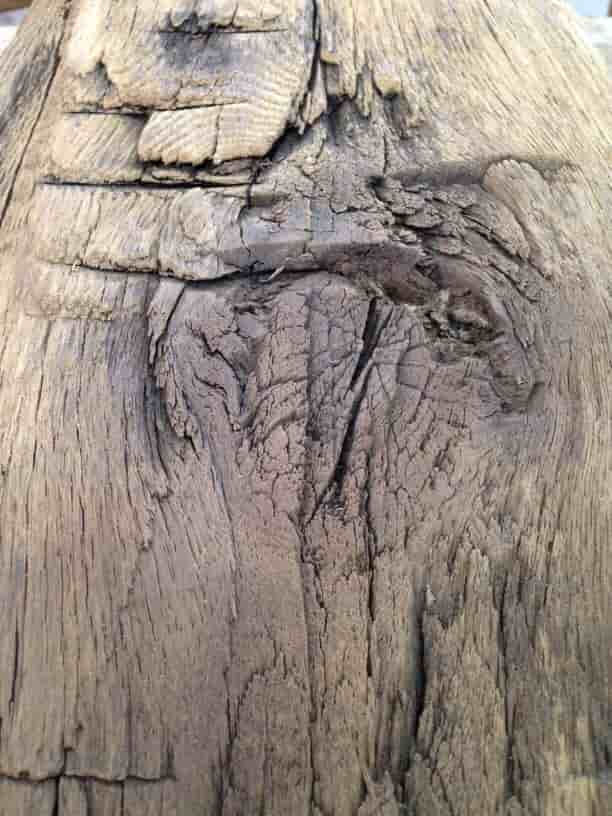
Seeing the original mortise and tenon pegged joints, and axe marks on these antique timbers was fascinating.
The Heartwood School offers this good explanation of the Square Rule method:
The term “Square Rule” was coined by Edward Shaw in his 1830′s book Civil Architecture to describe this traditional system which began in the U.S. around 1800. It’s based on the idea that within every irregular, rough sawn (or hewn) timber there lies a slightly smaller perfect timber…. For example, a 7×7 post may actually measure 7-1/4″ by 6-3/4″; it would be laid out as if it were a perfect 6-1/2″ by 6-1/2″. All joinery is cut to this inner timber, which usually shares two adjacent square faces with the outer irregular timber.
Snap Line Square Rule Method:
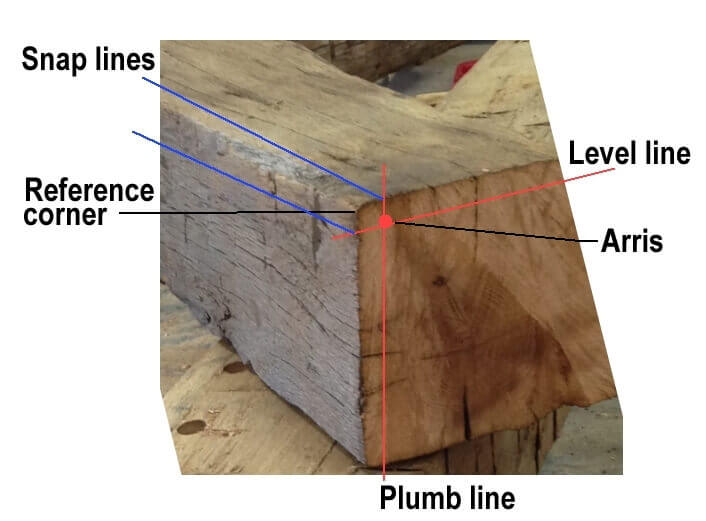
Here’s how we joined the bottom cord, king post and rafters on these trusses. A reference corner was selected on each end of the bottom cord and rafters. We measured in on both ends of the length of the timber 1 ½”, and marked a spot an equal distance in and down from the corner for reference. This point is called the arris.
A level line was drawn on the ends horizontally, and a plumb line was drawn down vertically. Chalk lines were snapped down all four faces of the timber, connecting the lines. Then these chalk lines were used for measuring all of the joinery layout.
(Helpful hint, use blue or white chalk for this. Red chalk is permanent, you will never get it to go away!)
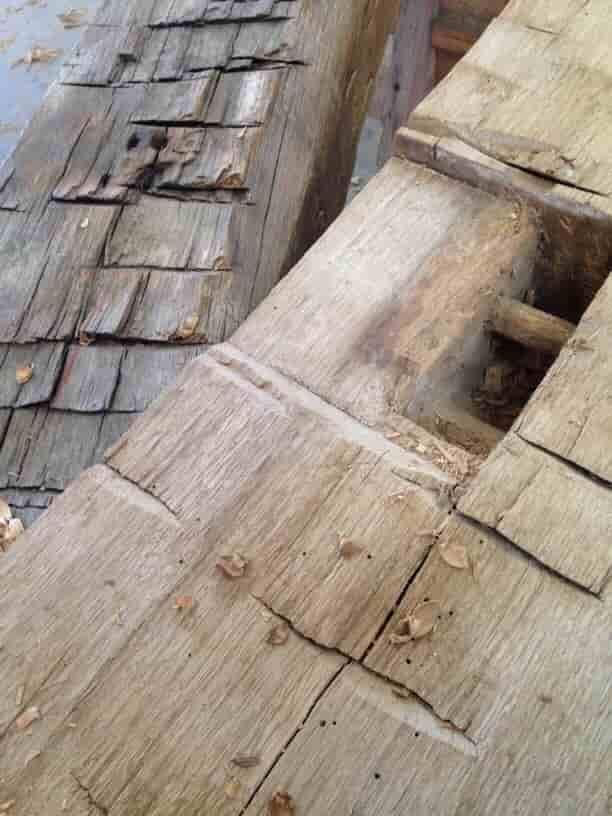
Once these pieces were cut and fitted together we moved on to the struts. Plumb line scribing was the method used to mark the location of joinery needed for these pieces. The struts were laid on top of the assembled timbers in the spot they would be joined. A plumb line dropped down where the timbers intersected identified where the joints should be marked for cutting.

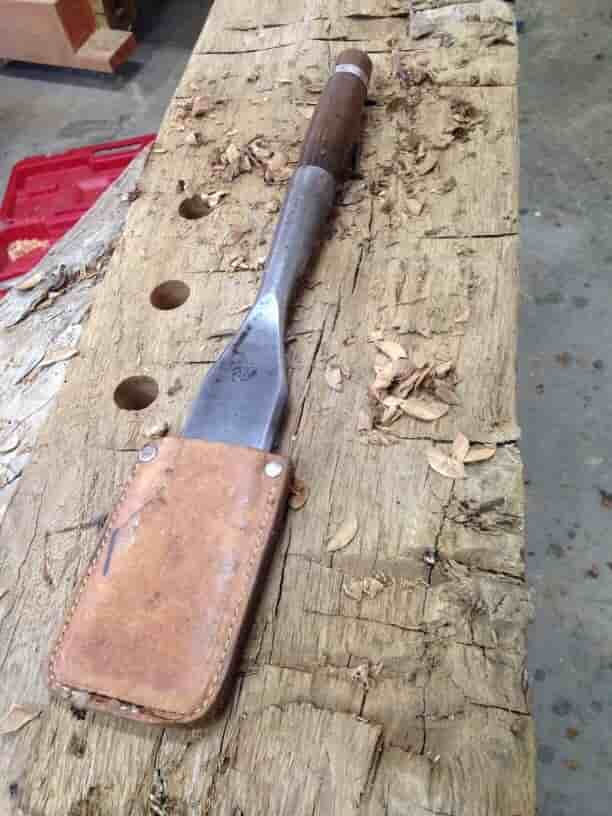
Cutting a mortise
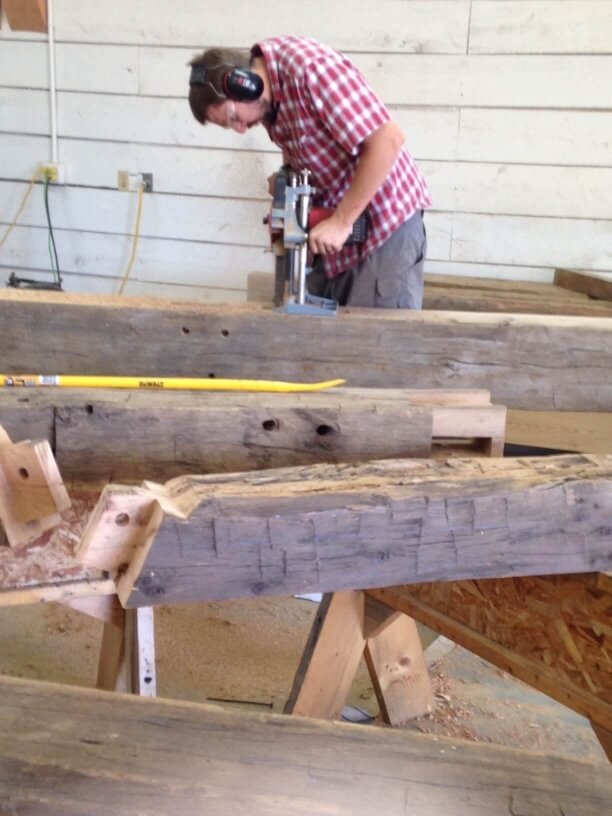
Cutting a mortise
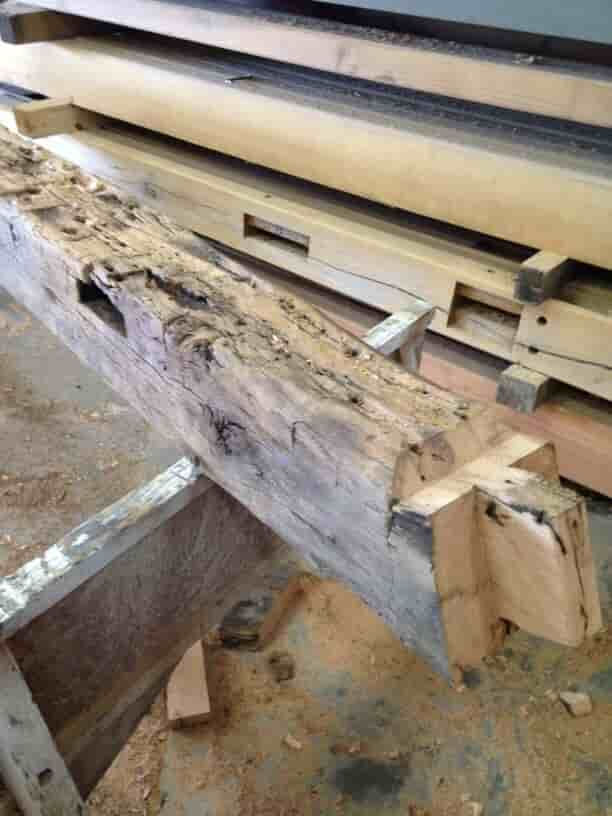
Tenon cut
Marking the plumb line intersection
The timbers themselves were beautiful, especially the growth rings.
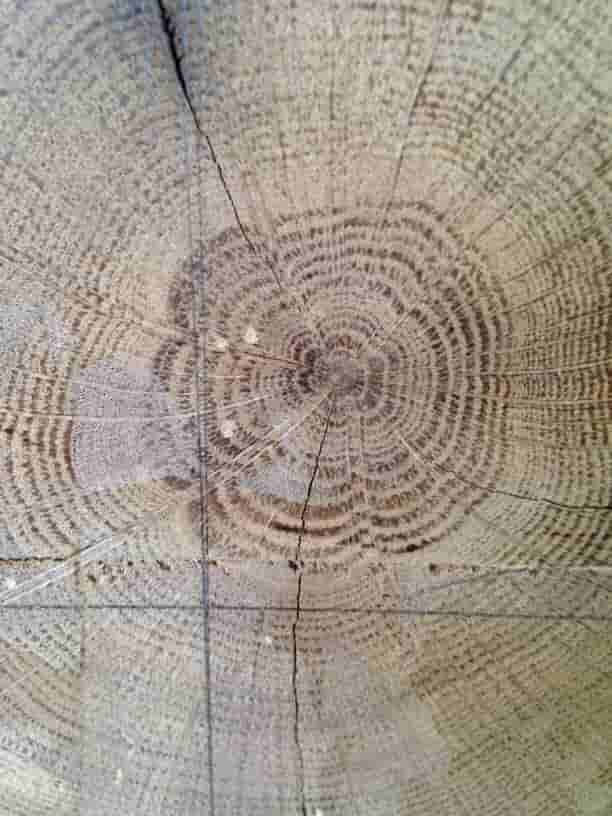
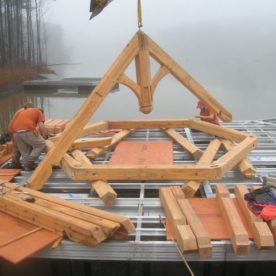
Working with these reclaimed, 150+ year-old, hand hewn white oak required timber framing methods that take a lot of patience, skill and time.
We hope the clients in Texas they went to are as happy with the results as we are!
- Want more timber framing information?
- Read FAQs
- Homeowner Questions
- More Timber Frame Trusses
- See Accent Timbers